Exterior caulking in Atlanta means cutting out cracked and shrunken caulk around windows, doors, trim, siding butt joints and penetrations, cleaning the joint, adding backer rod where gaps are deep, and applying a flexible, paintable sealant tooled into the joint. It is done on dry days and ideally before spring storms and before any exterior repaint.
Updated September 2026
Why caulk matters more than it looks
Caulk is the seal between materials that move differently: wood trim and siding, windows and walls, pipes and brick. Sun and seasonal swings crack it, shrink it and pull it away from one side, and each gap lets water into the wall behind. On hardboard and wood, that water leads to swelling and rot within a few seasons.
Resealing is mostly about doing it properly: removing the old caulk rather than smearing new over it, using backer rod in deep gaps so the sealant can flex, and choosing a sealant that stays elastic and takes paint. Done before storm season or before a repaint, it protects the paint as much as the wall.
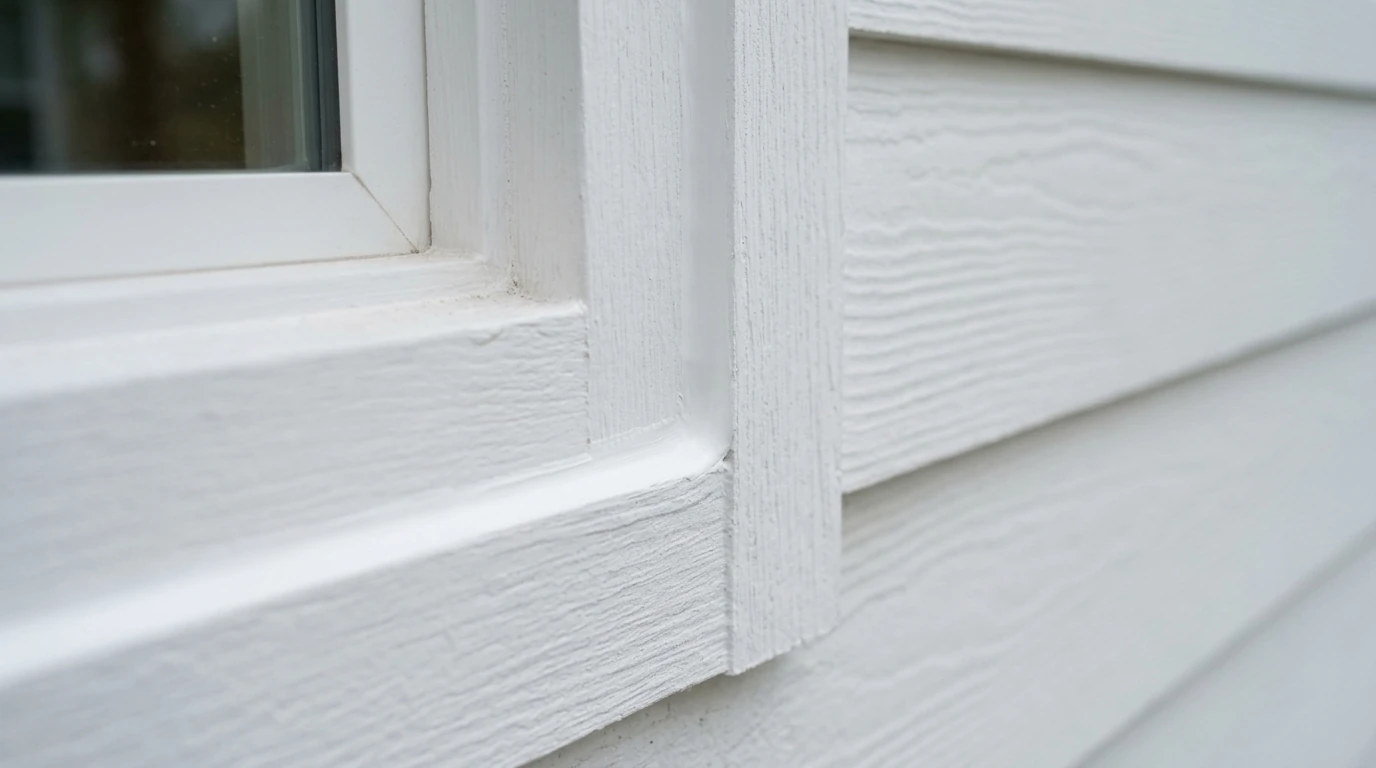
Window and door perimeter sealing
The joint where window and door trim meets siding or brick is where most leaks start. Old caulk is cut out, the joint is cleaned and dried, and new sealant is applied in a continuous bead and tooled so it bonds to both sides. The bottom of window trim is often left with a weep gap so water can drain. We check the head flashing above windows and doors at the same time, since caulk cannot make up for missing flashing.
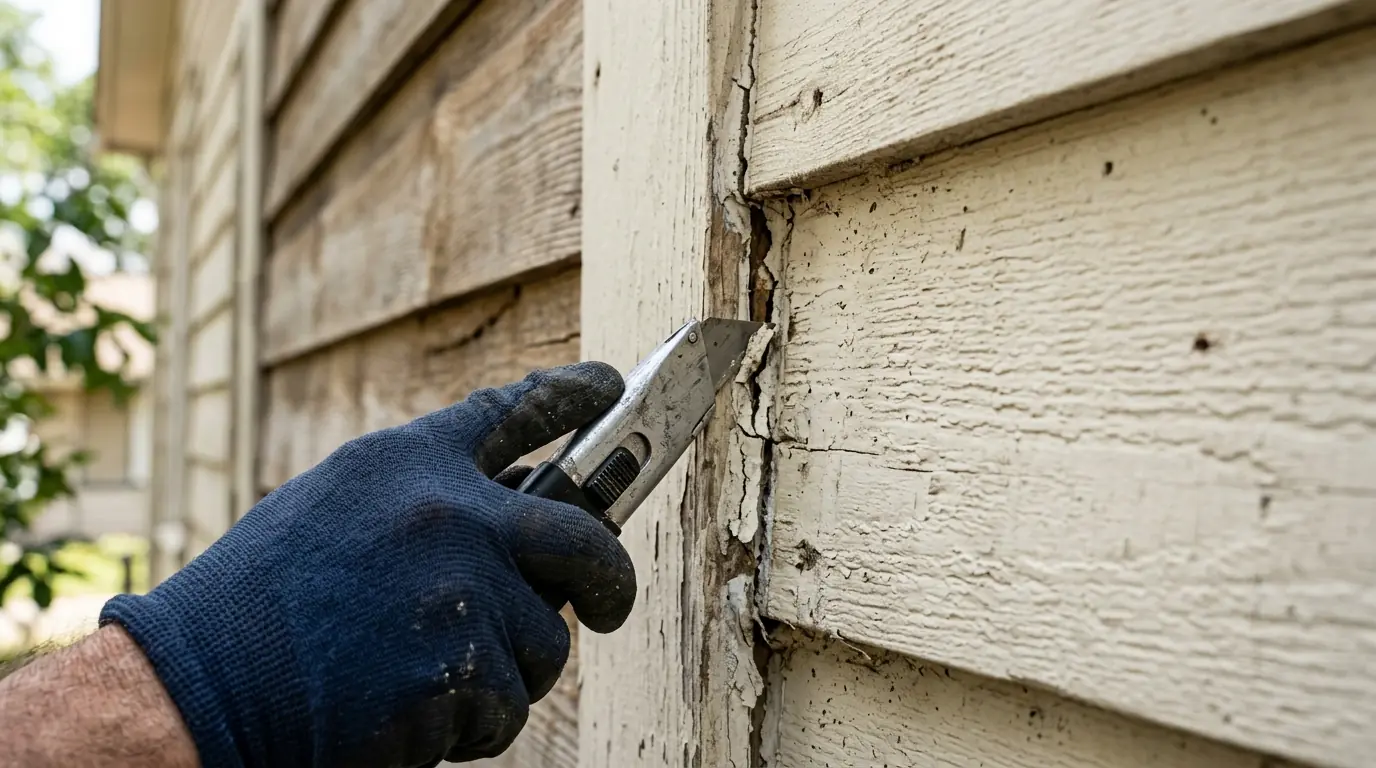
Siding butt joints and trim seams
On hardboard and fiber cement, the ends of siding boards meet at butt joints, and water gets in there when the joint opens. Joints are cleaned and sealed with a sealant the siding maker allows, and corner boards and trim seams get the same treatment. Horizontal laps are not caulked, because they need to drain. Getting this detail right is one of the reasons hardboard lasts on some houses and fails on others. Joints that have already swollen are a repair, not a caulking job, and we flag them for replacement.
Penetrations and corner boards
Hose bibs, dryer vents, light fixtures, cable lines and outlets all pass through the wall, and each one is a gap. We seal around penetrations with the right product for the material, replace cracked foam and sealant at vents, and seal the tops of corner boards where water enters from above. On brick homes, gaps between brick and wood trim are sealed with a masonry-compatible sealant. Deck ledger boards and porch roof tie-ins are checked too, since water there runs straight into the wall framing.
Signs the exterior needs resealing
- Cracked beads Caulk split along its length or crazed with fine cracks.
- Pulled-away caulk A gap between the caulk and one side of the joint.
- Open butt joints Siding ends separating at the joint.
- Stains below windows Streaks under window corners where water has run.
- Drafts Air moving around window and door trim inside.
What we see on Atlanta homes
Joints fail fastest on the sunny sides of a house. On older homes, south and west exposures break down paint and caulk faster than shaded walls, and in East Cobb the 1980s and 1990s subdivisions are full of hardboard siding now reaching the end of its life, where every open butt joint lets water into the panel. We start sealing on those sunny walls and at hardboard joints, because that is where water does the most damage soonest.
What changes the cost of exterior caulking
Caulking is priced by the linear feet of joints and how much old sealant has to come out.
- Linear footage. Total length of joints around windows, doors, trim and siding.
- Old caulk removal. Hard or thick old caulk takes longer to cut out.
- Gap size. Deep gaps need backer rod and more sealant.
- Height. Second-story windows and gables need ladders or lifts.
- Materials. Brick, wood, hardboard and fiber cement need compatible sealants.
- Flashing issues. Missing or failed flashing found during the work.
- Paint touch-up. Painting new caulk to match existing trim.
How the exterior gets resealed
- 1
Walk the house
Every joint and penetration checked; failed caulk marked.
- 2
Cut out
Old caulk removed from the joints being resealed.
- 3
Clean and dry
Joints cleaned and left dry.
- 4
Backer rod
Foam backer set in deep gaps.
- 5
Seal
Flexible, paintable sealant applied and tooled.
- 6
Leave drainage
Weep gaps and laps left open to drain.
- 7
Paint and check
New caulk painted where needed and walked with you.
Caulking yourself or hiring it out
A good DIY task
- Resealing a few ground-floor window corners
- Sealing around a hose bib or dryer vent
- Checking joints each spring
Worth handing off
- Whole-house resealing
- Second-story windows and gables
- Hardboard siding joints
- Joints with signs of rot behind them
The shortcut to avoid is smearing new caulk over old. It looks fine for a season, then peels off with the old bead.
Questions about exterior caulking and sealing in Atlanta
It should not. Old caulk is removed so the new bead bonds to clean surfaces.
Check it every year or two; sunny walls usually need resealing first.
Usually a small gap is left so any water that gets behind can drain.
Yes, when a paintable sealant is used; we paint it to match the trim.
Yes, on every exterior we paint. It is also available on its own.
We will show you. Caulk cannot replace flashing, and it may need a carpenter.