Interior wood staining and finishing in Atlanta homes covers stained trim, doors, beams, paneling and built-ins. Sound finishes are cleaned, scuffed and given fresh clear coats; worn or blotchy areas are sanded, stain is matched on a test spot and blended in, and the wood is sealed with a polyurethane or varnish. Paint is not used, so the grain stays visible.
Updated September 2026
Refreshing stained wood instead of painting over it
Stained wood wears differently from paint. The clear coat on top dulls and scratches first, especially on door edges, stair-side trim and window stools, and once it wears through, the stain and wood underneath fade and darken unevenly. Painting over it hides the problem but also hides the grain, and it is difficult to undo.
Most stained woodwork can be brought back without stripping it all. Cleaning, light sanding and new clear coats revive sound finishes; worn spots are sanded to bare wood, stained to match and blended in before the clear coat goes over everything. Full stripping is saved for finishes that have failed across a whole surface.
What changes the cost of interior wood finishing
Wood finishing is priced by the surfaces involved and whether they need a refresh, spot repair or full refinish.
- Surfaces. Linear feet of trim, number of doors, beams or built-ins.
- Finish condition. A clear coat refresh is quicker than spot repair or stripping.
- Stain matching. Test spots and blending on worn areas.
- Color change. Toners or gel stains to shift the color without stripping.
- Height. Beams and tall paneling need scaffolding or platforms.
- Doors off or on. Doors finished flat give the smoothest result.
- Lead-safe work. Pre-1978 finishes that will be sanded need containment.
Restain or paint the trim
| Factor | Restain and clear coat | Paint |
|---|---|---|
| Look | Grain visible, warm wood tones | Solid color, grain hidden |
| Reversible | Yes, can be painted later | Hard to return to stained wood |
| Touch-ups | Blending stain and clear coat | Straightforward with the same paint |
| Best for | Sound woodwork you want to keep | Mismatched or damaged wood |
Stained interior doors and trim
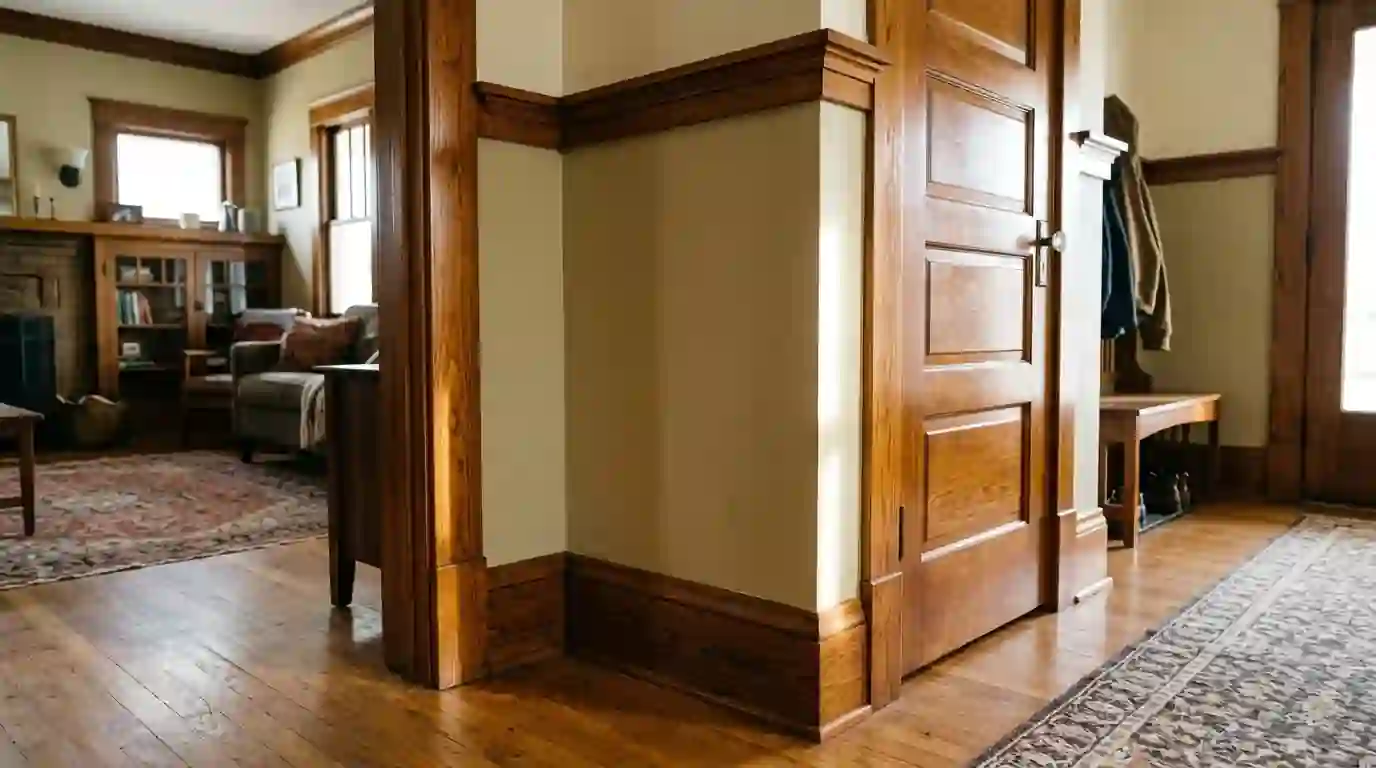
Doors and trim are cleaned with a degreaser to remove hand oils and grime, then scuffed so new finish will bond. Worn edges and nicks are sanded back, stained with a color matched on a hidden test spot, and blended into the surrounding wood. Two coats of a clear finish in the existing sheen go over everything. Doors can be taken down and finished flat for a smoother result. Hardware is removed and floors are protected throughout. Where a previous owner painted one door in a stained set, that door can be stripped and stained to match the rest.
Wood beams, paneling and built-ins
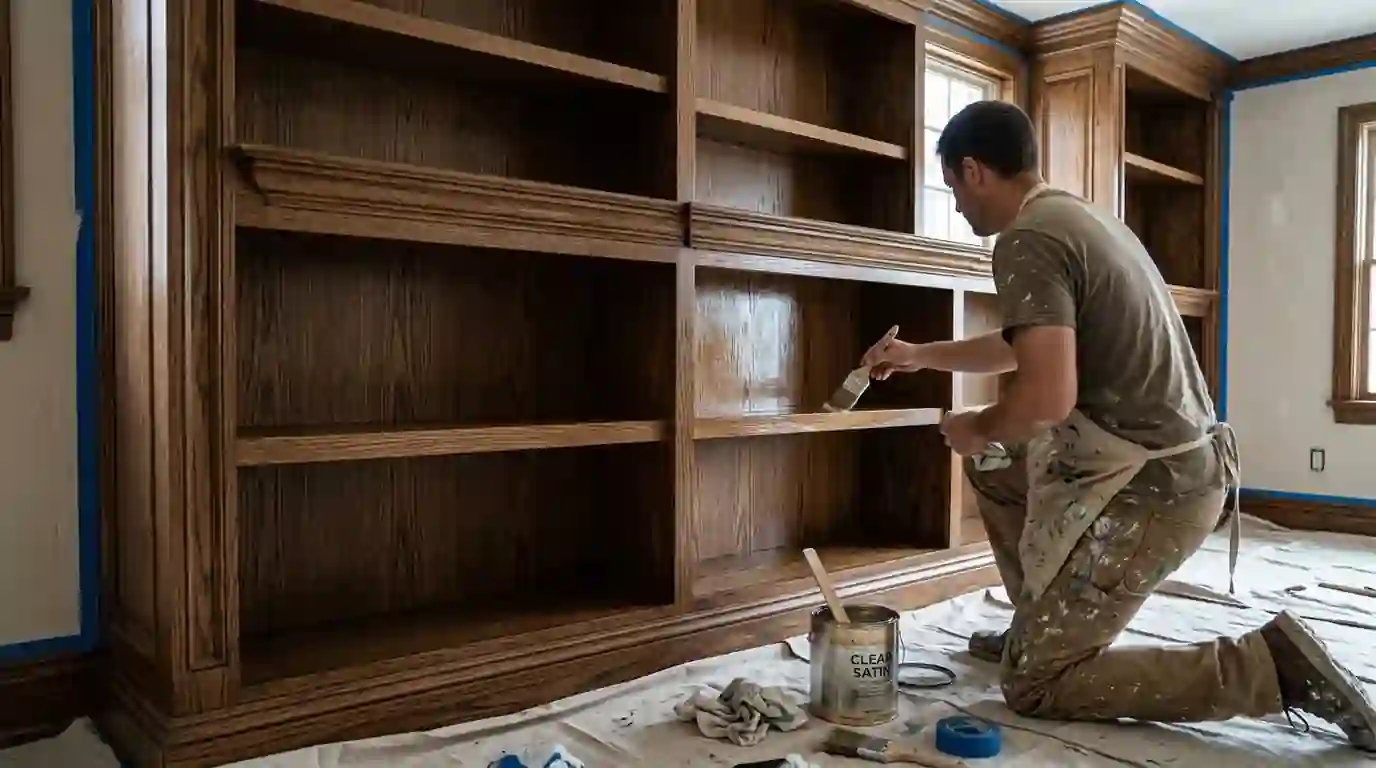
Ceiling beams, wood paneling, bookcases and built-in cabinets collect dust and dull over time, and paneling often darkens unevenly near windows. These are cleaned, lightly sanded and recoated. Where a lighter or more even look is wanted, a toner or gel stain can adjust the color without stripping. Beams overhead are reached from scaffolding or rolling platforms with floors and furniture covered. Built-ins are emptied and shelves done one section at a time. Paneling that has been nailed loose is refastened and the nail heads filled to match before any finish goes on.
Clear coat refresh on existing wood
When the stain color is still good but the surface looks dull or scratched, a clear coat refresh is the quickest fix. The wood is cleaned, scuffed with fine abrasive pads and recoated with a water-based or oil-modified polyurethane matched to the existing sheen. It does not change the color; it restores depth and protection. This is often all that stair-side trim, window stools and kitchen-adjacent doors need, and it takes a fraction of the time of a full refinish. We test the existing finish first, since a wax or oil finish needs a different approach than polyurethane.
Refinishing wood yourself or hiring it out
Reasonable DIY
- Wiping on a clear coat refresh on a single door
- Cleaning and waxing paneling
- Touching up small nicks with a stain marker
Worth handing off
- Stain matching across a whole room
- Beams and tall paneling
- Pre-1978 finishes that will be sanded
- Whole-house trim and doors
The most common DIY problem is a stain that looks right in the can but blotches on the wood. Testing on a hidden spot first avoids it.
What we see on Atlanta homes
A lot of intown Atlanta houses still carry original wood trim. Ormewood Park was laid out from the 1890s to the 1910s as a streetcar suburb of Victorian cottages and Craftsman bungalows, and Cabbagetown's late Victorian and Craftsman houses date from the 1880s onward. When one of those houses still has stained trim, doors or built-ins that have never been painted, refreshing the finish keeps a feature that is hard to bring back once it is painted over, so we suggest that first.
How interior wood gets refinished
- 1
Assess the finish
Clear coat condition, stain color and wear spots checked.
- 2
Protect
Floors, walls and furniture covered; hardware removed.
- 3
Clean
Degreasing to remove hand oils and grime.
- 4
Sand and repair
Worn spots sanded, nicks filled to match.
- 5
Stain and blend
Color matched on a test spot and blended in.
- 6
Clear coat
Two coats in the existing sheen.
- 7
Reinstall
Hardware and doors back, every surface checked.
Questions about interior wood staining and finishing in Atlanta
Usually, yes. We mix and test on a hidden spot before touching visible areas.
Rarely. Most woodwork only needs cleaning, spot repair and new clear coats.
Somewhat, with toners; a big change lighter usually needs stripping.
Water-based stays clear and dries fast; oil-modified adds warmth. We match what is there.
It is similar work on other woodwork; see our cabinet refinishing page for kitchens.
Usually the next day, with care, while the finish keeps hardening for a week or two.